
In my templates classes, I ask students to bring 2 templates -- a straight template and a curved cross-hatching template. Being reluctant to explicitly state which 2 they must bring, I mention the two I have, and suggest they have ones "like" these. I receive no kick backs or discounts from these manufacturers for posting this. Being the template junkee that I am, I have bought many templates in my years of longarm quilting. I, therefore, have purchased some total crap too before finding a couple of really great tools. Those are the ones I am sharing with you, and suggest you invest your money into.
Straight Template
Let's face it, these templates are not inexpensive. This one sells for $22 at The Gadget Girls. In the scheme of templates, that cost is pretty good. It is called Janet-Lee's Favorite. (and there's no kickback from Janet-Lee to promote this template just because she's my friend!)

Why?
1. It is a perfect size. 3" x 10". Anything wider than 3", and it's a total handful to hold. The 10" length is enough for most lines I need to quilt. Any longer, and it will far exceed the length of the base plate (which is there to support the template), and you will risk having the template teeter (yes that is a word!) and potentially hit the needle. You know what that means. <
2. See the many etched marks on this template?...Exactly, there are NOT a multitude of marks. There are only the lines that you really need to do line work and straight crosshatching. There are no numbers, excessive text, unnecessary corporate logos. There are not twenty cross lines. IT IS SIMPLE, because simple is better and easier. I am resisting the urge to show you photos of other templates, ones that are wider than 3" and with so many markings they are a confusing enigma of which marks to use. I want you to just focus on the notion of "minimal". It has 45 degree etched lines for aligning an on-point grid. If you want to do a 30-60 grid, get out your protractor to set the position of the first line.
3. No 1/8" markings. While I personally love to quilt 1/8" spaced lines (corduroy as I call it), I do it with this very template. The evidence is clear -- it is simple to do, and I can execute these very accurately (the evidence is below). I simply start by quilting two 1/4" spaced lines using the etchings on the template, then I place a third line in the center between these lines. Now, you can quilt as many 1/8" spaced lines as you like simply by using the 1/4" etchings. It is not that I have not purchased a template with 1/8" etchings, because I have. It is because when a template has that many etched lines, you can hardly see what is beneath it. Coming from the perspective of the beginner quilter, having better visibility is preferred. Consider purchasing a ruler with denser line etchings after you have successfully mastered using a template similar to what is suggested for these classes. Minimal...think minimal.
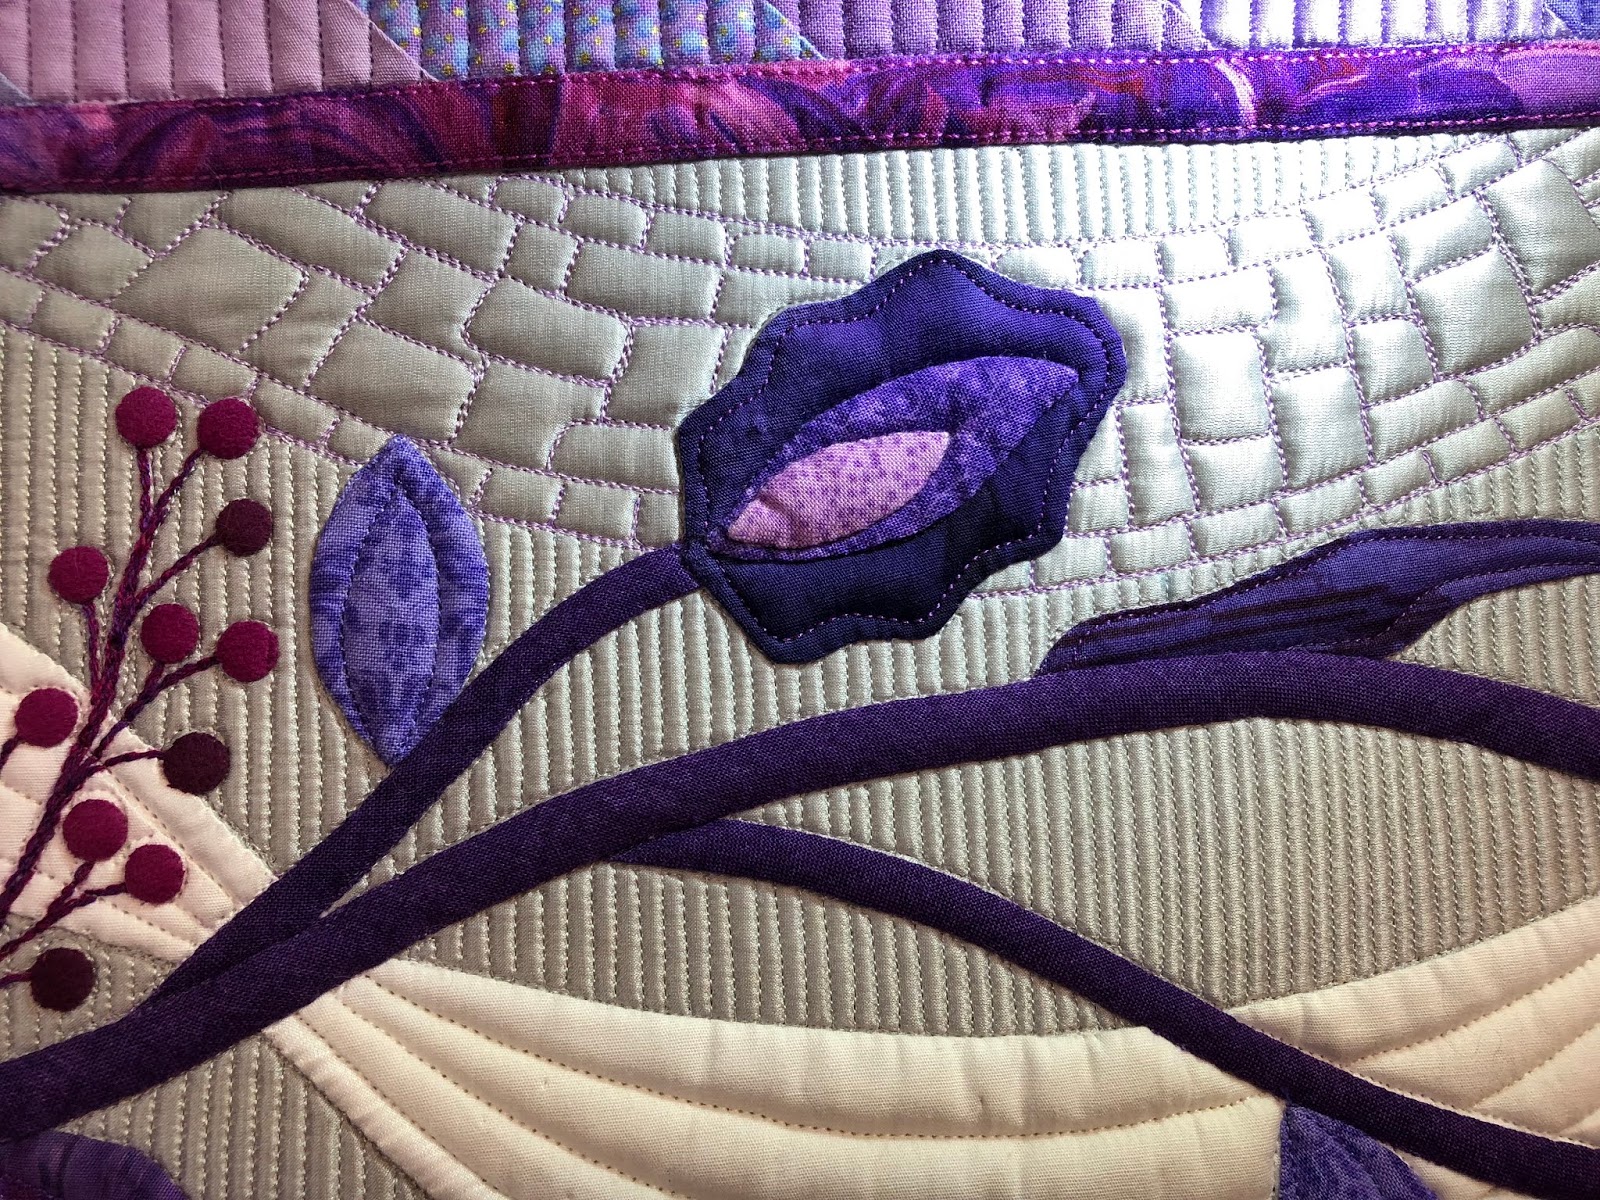
(from The Value of Violet)
4. No Handles or additional "holding tabs". The notion of a template having a handle always seems good initially. I fell for it too, buying about $120 in handled templates, only to get them home to discover how much I truly hate the handles. They seemed awkward. It increased my tendency to not keep the template flat. Remember, a tippy template is a template that will soon come in contact with your needle. While I occasionally meet quilters that like the handles, the consensus of much of my Daytona class was that they were soon to be replaced with flatter templates. With any template, especially ones with handles, just follow this advice. Buy one. Test it at home for several hours before purchasing the entire set. They are not bad, but they are not a style I like or can endorse. Discover for yourself if you like them.
5. No special additional shapes or things to aid with ditch stitching. While it is an eventual certainty that you will probably stitch in the ditch with your straight template eventually (they are not just for quilting corduroy!), I am a firm believer that you will adapt to knowing how to spy that 1/4" offset between the edge of your stitching and the needle. The template below on the upper left has a notched area on the right intended to help you with doing straight ditch stitching. If you place the central line on the tabs on your ditch, it will automatically offset where the needle goes so you stitch close to the actual ditch (assuming the seam is in fact really straight). It has a great intention, and I do know many people who appreciate this function on a template. But for me, I dislike this multi-function template because it just does not feel good in my hand. It has a ton of pointy edges, and the length of the straight section is inadequately short. My 3"x10" simple template is smooth and comfortable in the hand.

Not yet convinced? Ok, I understand. I had to purchase about 4 templates like this before I realized that I love my Janet-Lees Favorite most. I'm just attempting to put out my reasons for why I like this best so that my MQX students who have not yet bought their templates for next month's template classes know what I'd suggest, and why.
Let's move on to the next template.
Curved Arc Template
At some time in every quilter's life, he/she needs to have a good curved template for quilting curved cross hatching. This is not to be confused with a template that quilts circles; that actually does need to be a circle, rather than an arc.
Curved cross hatching looks like this - it is basically a grid but the lines are curved.


As you know, there are also as many curved templates on the market as there are straight. The one I stand behind as a quilter and a teacher is called the Boomerang, and is sold by Deloa Jones. It has an arc on both sides of the template, as well as etched concentric ARCS. I'll tell you why having 2 arcs is important shortly. These Boomerangs come in several diameters, so be sure to select the size suggested. For new users, I like the 8", 12" and 16" (but you know me, I do have a few others too, they are THAT good!).

(Deloa Jones Boomerang)
Let's talk about the etched lines. They have to be curved. There are more templates out there similar to this that have straight lines or a straight etched grid on them. They are essentially useless for curved crosshatching. If you just want to quilt curved bumps, then fine. This template has several etched lines too. I saw a template last week that had just one etched line, which means that you can only quilt 1/2" spaced arcs. It seemed pretty limited.
This template has a central perpendicular line too. I marked it with pink on the above photo. This is to help you keep the template aligned when quilting a grid. There are 45 degree lines, but if the template were mine, I'd have left these off. I can't say I've ever used them.
Now let me talk about the two curves. Unlike some similar templates available with 2 curves, these two curves quilt exactly the same shape! Genius, huh? They don't look like the same curvature. Well, they aren't. The inner is 12-1/2" diameter and the outer is 11-1/2" diameter (the 1/4" distance of needle-to-hopping foot makes them both quilt 12" arcs). Having two different curves capable of quilting the same shape enables quilters to quilt the left part of the arch (below) with the inner curve, which is more stable.


Now, because the template has 2 curves, if you were quilting the area beneath the arch with a crosshatch, you'd use the inner curve. If you didn't have an inner (lower) curve, well, you couldn't create the cathedral window. Sometimes I prefer to curve crosshatch the area between the arches, and in that case you will use the outer (upper) curve.
In my Creative Templates 2 class, we learn about cathedral window motifs, so having a template like this is imperative. In Templates 101, we also do the simpler curved cross hatching. You don't need to have the lower side of the template curved, but your template does need several etched concentric arcs (at least 3 that are 1/4" spaced apart). My theory is, though, once you learn to do the basic curved crosshatch, you will most likely want to learn to make cathedral windows, so consider purchasing the best template from the beginning. This is one of those times when my experience can be a favor to you.


8 comments:
I want to thank you for posting blogs that are interesting and honest. Over the years of reading it, I have learned an exceptional amount.
Great information. I do agree that some templates can have to many marks. Sometimes I have had to use a sharpie to highlight the line that I want. Of course then I have to remove the line when I am finished using that template. Goo Gone works pretty well for this.
thanks for your insight. Always a great help for those of us that don't know or realize.
Great info! The proof is in the pudding with your exceptional work. I so appreciate your "bottom line" information. Thank you, as always, for the info and the information!
This is a great post. Thanks for sharing your wisdom...wish I had seen this a couple of years ago before I invested in so many worthless rulers! I will save this and refer my students to it as I teach ruler quilting on the domestic machine and they are always asking me which rulers to buy. I agree that a workable straight and curved ruler is all you really need to get started!
I love to use templates and have many of them as well. Good analysis of why these work for you and WHY!! So important! I will often use blue painter's tape if I have a specific "mark" I need to hit...easy to see and no residue when I remove it. I have a couple of templates with the handles and I like them, but I can do without them as well. Great advice on the size of the templates...too big is worse than too small!!
Can you share who makes the template you like or where it can be found. Thank you.
Great info for the beginner such as myself. Thanks for sharing!
Post a Comment