
I got a piece or wrapping paper. It's the largest paper I own, and my blocks are 15", which is larger than standard paper. I traced a 12" diameter quilting circle template, and cut it out. I will make my blade template from this. You could make it any size you want. I left a good bit around the Dresden to allow for quilting designs. If you don't have such template, a compass or large dinner plate will work too.
 With your circle, fold it in half and then in half again, to mark 4 90-degree quadrants. If you are anal like me, take a protractor and confirm that they are in fact 90 degrees. I hae chosen a bladed Dresden with only 12 blades. Take one of the quadrants and your protractor, and mark 3 30-degree sections. I then square off the rounded end of the section and also shorten the piece where it approaches the center of the circle. We are almost finished. The last thing you need to do is add the 1/4" seam allowance to the sides (and end if you want). Cut this out and trace onto a more substantial piece of cardstock or plastic. Viola, here is your blade pattern.
 Sorry, blurry, but you get the idea. Now it is a little tedious from here, but trust me, the sewing part is much faster. Trace and cut out how ever many pieces you need. I do this with 4-5 layers of fabric stacked, using a rotary cutter.
 On your sewing machine, fold the piece in half lengthwise, and stitch with 1/4" seam across the end. I do backstitch at the folded end.
 Now trim the seam to a scant 1/8". You don't want the bulk within the point.
 Turn the piece right side out and press gently with scissors to get it pointy. Press.
 Next, choose the arrangement of your 12 blades, and stitch together. I backstitch ~0.5" at the top of the seam so I don't have to worry with loose threads or a seam pulling loose. I then press the seams to one direction (because I will be ditch quilting each blade and this can not be accomplished if pressed open). Then I starch the top. There are many bias edges. The starch helps the plate to hold its shape until it is added to a background fabric.
 Missing something?? Yup, the center. This is typically a circle, but since I found this perfect 12-petaled Michael Miller fabric, I couldn't resist. Applique away! I have used a 5-6" center.
 I have 5 of my needed 20 plates ready for their background fabric. Please note that after I sew the plates to the background, I highly suggest going back and trimming that "triangle" of excess fabric from each blade point. It has a seam in it and will be very prone to showing through to the top of the Dresden plate when it is quilted. I hate this look :-((
 This is my "Walk on the Wild-Side" Dresdens. They are bold and bright, and look so fantastic with the flower centers. Thanks to all for your comments on my quilt layouts. I kind of figured I'd go with this layout all along, but I just needed confirmation that it would be great (rather than going the more traditional route).
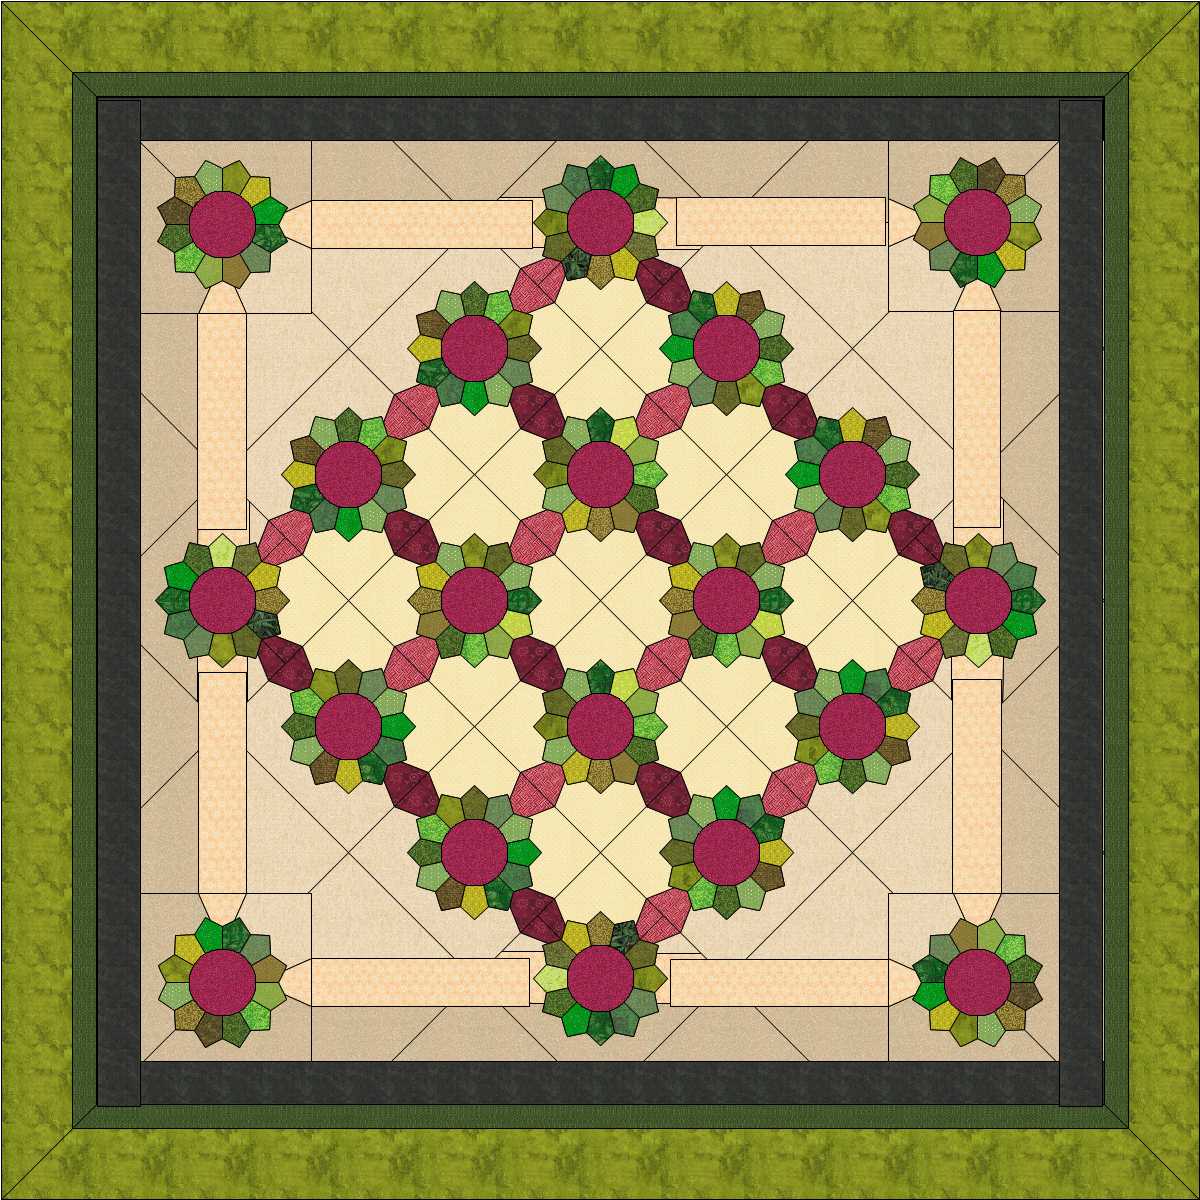 Coincidently, this morning I came across another person's blog post about Dresdens. You may find it informational. It is here...
 And dont forget about the Quilting Sale...
Have a good Wednesday~


2 comments:
Thanks for sharing the process of making our own dresden templates - also of trimming away the upper triangle fabric underneath. I've *got* to make a dresden project some day!
Absolutely beautiful Dresden Plate quilt design layout, lovely blocks, and great tutorial too! Funny that we were thinking of Dresden Plates at the same time.
SewCalGal
www.sewcalgal.blogspot.com
Post a Comment