You have made this fantastic flimsy and now it is ready to be quilted. The rest is up to the quilter, right? Well, yes generally speaking that is true. But before you get to that point in the quiltmaking process, there are many things that you as the piecer can do to ensure that your quilter has the best possible top to work with (and hence, make you the best possible looking quilt!). Thinking about how it will be quilted as it is designed and made will help.
Fabrics...My list naturally begins with fabrics. There are a plethora of fabrics to choose from, and a tremendous range of weights/thicknesses of fabrics too. You will find the junkier, stiffer "chain-store" (or Walmart) fabrics, which I'd say as a general rule to just avoid. They'll never be soft and snuggly. When piecing, select what you like, but try to keep them all of a similar weight. The weight of the fabrics (or the fabric sandwich) affects how the quilter will tension his or her machine. If the weight of the sandwich varies, you very well may see a tension change as the stitching passes over lighter and heavier patches. Plus, varying weights of fabric will wear differently.
When piecing with white, buy the absolute best quality white you can rationalize. You can always make slight sacrifices elsewhere, but if you select a thinner, lower grade white, it will be the first thing you will see on the finished quilt. Thin whites show anything underneath them, including rogue threads from neighboring seams. I like the Moda Bella and Kona whites. Still, however, when using a white of any kind, try your best to press all seams AWAY from the white fabric. I would even go so far as to suggest not making quilts that have a lot of white with other deep colors such as red, navy or another deep color. They will show through the top somewhere, and are so very prone to bleeding onto the white.
 Thread...
Use a thread that either matches your fabrics or is of similar tone. Lights are usually fine with a white or pale gray. Darker fabrics need a darker thread. Once the quilter gently tensions your top, any white threads will definitely show. Use a lighter weight thread, like a 50 wt. I hate when I see a quilt all pieced with 40wt hand quilting thread. It leaves a most visible line in the seam. Use a reasonably short stitch length too. On my digital machine, I sew with a 1.8. The shorter stitch length does a couple things. If you are not prone to backstitching at the end of a seam, the tighter stitches will not pull out as easily. Also, the tighter stitches will hold the seam nicer when it is tensioned for quilting (less likelihood of seeing those stitches if they are not a perfect thread color match!). I have actually started piecing with my 50wt (60wt in bobbin) polyester longarm quilting thread, but you can find a nice fine thread.
Tension...The tension of your piecing thread should be properly adjusted so that you don't have those little ticks along the seam. Don't assume that because it is inside of the quilt that it will be just fine. An ill-tensioned seam will pull open and show the threads (often in an unmatched color!) when tensioned. Plus, that seam is much more likely to come open at the ends.
Seam allowances...We all know about the sacred 1/4" seam, but too many people still have their version of what 1/4" really is. In actuality, it does not really matter if you sew at 3/8" or 5/8" as long as you are consistent throughout your top. Where problems creep in is when there is a 3/8" seam somewhere, some 1/4" seams and that dreaded 1/16th inch. First off, inconsistent seam allowances create non-flat and non-square blocks, that very likely have poor matching of points. Secondly, if there is a very narrow seam allowance, it creates a weak area that may well pull open when the quilter puts the quilt onto the frame. So, just be careful here.
Pressing...Yea, I mean with an iron. And if you find that a seam flip-flops, then kindly do the noble thing. Rip out a few stitches, move it to the direction it should lay, and restitch. In the end, you will have a much nicer quilt, that will lay flat where it ought to be flat.
Borders...Any piecing on the outside of the quit top's periphery should be either be backstitched, or have a row of stay stitching across. There's nothing that chaps me more than to load someone's quilt and have the outer border start pulling apart before it is even quilted. This step takes very little time too. Many people need to go back to "Borders 101" and revisit how to add borders of the proper length (see the internet for hints here...but generally speaking, measure quilt at center, and cut border this length, pin and sew on). If you improperly add your borders you run the risk of having borders that will have too much fabric, and will require the quilter to take what can sometimes be an unsightly tuck or tucks in the border (in addition to pulling out her own hair). Some quilters go to the extent of removing a client's borders and restitching them properly (at the client's cost). I don't go this far. Additionally, I commend those of you that do mitered corners on your borders. They are classy. But do check that the corner lays squarely (use a 12"x12" square).
 Piecing & Squaring...
If you are piecing blocks, take the time to square them all up before they are sashed. This will help you to make a squarer quilt. This is especially important if you are placing your blocks on point. Somehow the on-point setting distorts small anomalies more. Envision this: Your top is attached to a roller and then pinned to another parallel roller. If it is not square, then it cannot possibly lay smoothely where it is supposed to be quilted. Your quilter will curse a bit, use lots of pins to help make it lay down, etc. It makes the process of quilting much harder, and you run the risk that your finished quilt is not as pretty. One last thing about piecing (only because this eventually affects the squareness of a top) - For those on-point quilts that require setting triangles, keep the outer edges always ON GRAIN! No quilter wants to see a quilt that has bias edges on the outer edges of a quilt.
Flat...I'm sure you can imagine how hard it would be to quilt a bra and make it look like a square, so keep those blocks and tops flat. Sure, your quilter can quilt anything down, but it won't look like anything you will want to pay for. I saw a recent YouTube video by Sharon Shaumber (may be misspelled) about using spray starch to shrink blocks if they have too much cleavage. Might want to check this out.
Backings...This list of helpful hints is brief. Keep them on-grain. Keep all selvages out of seams, as they will pucker. Press those seams open. Leave the recommended amount of additional backing fabric that your quilter requests (yes the back must be several inches larger than the top). The back must be square. There are many other personal considerations for backings, but from a technical standpoint, they are of lesser importance. I prefer not to see busy fabrics on the back when a custom quilting is desired. Similarly, I don't care for heavily pieced (aka double-sided) quilts for anything but a simple edge-to-edge quilting. I also like to choose a backing fabric that is mid-toned, or is not one of the really light or really dark tones that are in the top. Again, this is just my preference.
Plan for the quilting...By this I mean, don't spend $100 on your fabrics, another 20 hours or more making your top, only to cheap out on the quilting. Before the top is quilted, it woud be valued at at least $400 (your time IS worth something, right??!), so expect to pay between $150-250 to quilt it acceptably. Lovely quilting only enhances a carefully made quilt top.
closing comments...99% of the quilts I receive to quilt for clients are without significant issues that would hinder acceptable quilting. Most, in fact, are really nicely made. There are many less experienced piecers out there though that might benefit from my compilation of things that make quilting for others easier and more successful. These are only my thoughts. I welcome whatever you might like to add too.
I hope you enjoy my sneak peeks of my next quilt.

 With your circle, fold it in half and then in half again, to mark 4 90-degree quadrants. If you are anal like me, take a protractor and confirm that they are in fact 90 degrees. I hae chosen a bladed Dresden with only 12 blades. Take one of the quadrants and your protractor, and mark 3 30-degree sections. I then square off the rounded end of the section and also shorten the piece where it approaches the center of the circle. We are almost finished. The last thing you need to do is add the 1/4" seam allowance to the sides (and end if you want). Cut this out and trace onto a more substantial piece of cardstock or plastic. Viola, here is your blade pattern.
 Sorry, blurry, but you get the idea. Now it is a little tedious from here, but trust me, the sewing part is much faster. Trace and cut out how ever many pieces you need. I do this with 4-5 layers of fabric stacked, using a rotary cutter.
 On your sewing machine, fold the piece in half lengthwise, and stitch with 1/4" seam across the end. I do backstitch at the folded end.
 Now trim the seam to a scant 1/8". You don't want the bulk within the point.
 Turn the piece right side out and press gently with scissors to get it pointy. Press.
 Next, choose the arrangement of your 12 blades, and stitch together. I backstitch ~0.5" at the top of the seam so I don't have to worry with loose threads or a seam pulling loose. I then press the seams to one direction (because I will be ditch quilting each blade and this can not be accomplished if pressed open). Then I starch the top. There are many bias edges. The starch helps the plate to hold its shape until it is added to a background fabric.
 Missing something?? Yup, the center. This is typically a circle, but since I found this perfect 12-petaled Michael Miller fabric, I couldn't resist. Applique away! I have used a 5-6" center.
 I have 5 of my needed 20 plates ready for their background fabric. Please note that after I sew the plates to the background, I highly suggest going back and trimming that "triangle" of excess fabric from each blade point. It has a seam in it and will be very prone to showing through to the top of the Dresden plate when it is quilted. I hate this look :-((
 This is my "Walk on the Wild-Side" Dresdens. They are bold and bright, and look so fantastic with the flower centers. Thanks to all for your comments on my quilt layouts. I kind of figured I'd go with this layout all along, but I just needed confirmation that it would be great (rather than going the more traditional route).
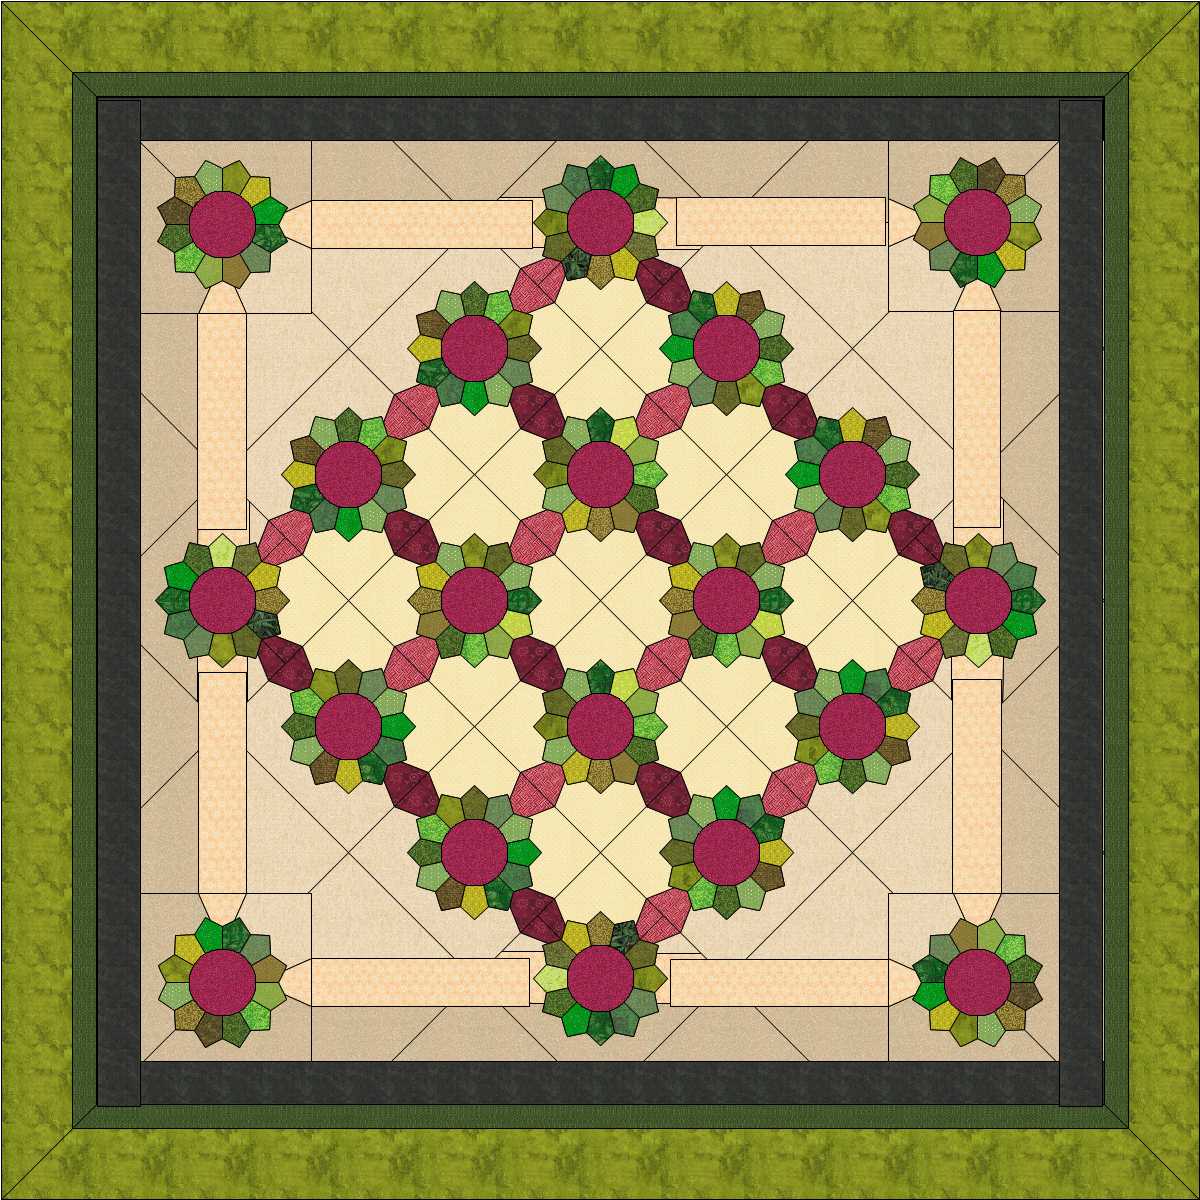 Coincidently, this morning I came across another person's blog post about Dresdens. You may find it informational. It is here...


 Posts
Posts


